BTC - Bitcoin
 USDTERC20 - USDT ERC20
 ETH - Ethereum
 BNB - Binance
 BCH - Bitcoin Cash
 DOGE - Dogecoin
 TRX - TRON
 USDTTRC20 - USD TRC20
 LTC - LiteCoin
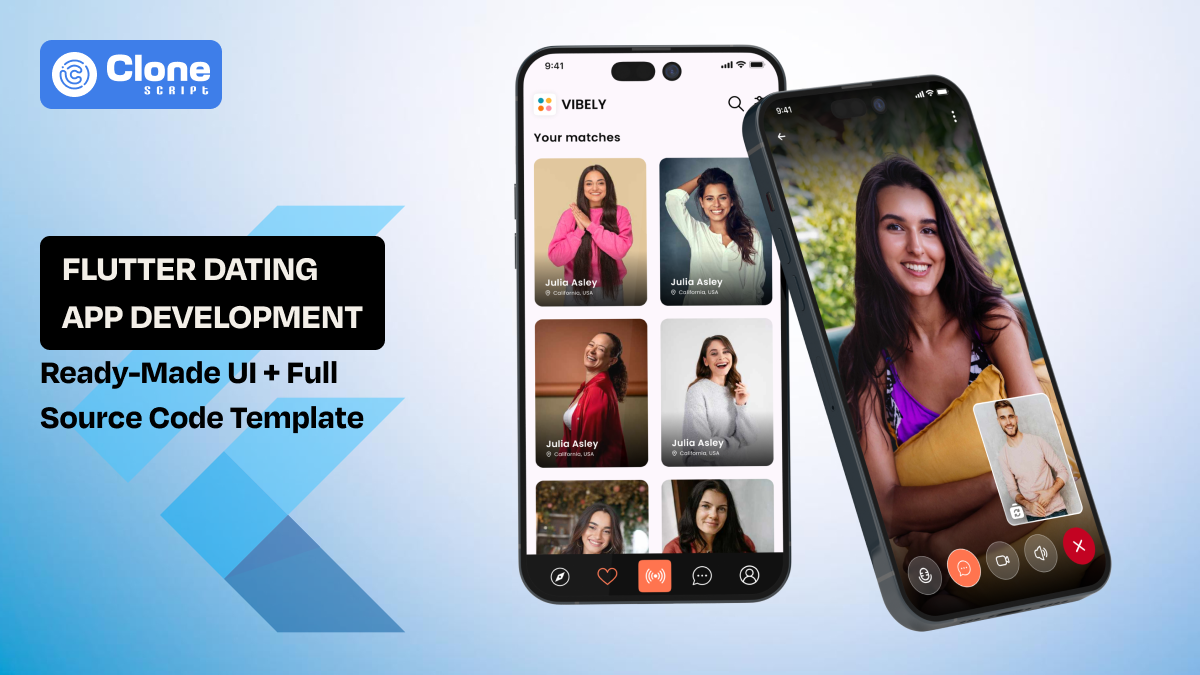
How to Create a Stunning E-Commerce Mobile Application with Flutter
Flutter is becoming a top choice for e-commerce app development. But how to create a functional app with this tool remains an unanswered question.
If you’re a developer working with clients who need modern shopping experiences or you're trying to help a small business go digital, a mobile app is no longer a luxury. It’s expected.
Customers want everything in one place: fast browsing, secure payments, real-time order tracking, and a sleek interface.
But building a polished e-commerce app from the ground up? That’s time-consuming and expensive.
Flutter changes the game. With its cross-platform capabilities and a growing ecosystem of Flutter templates, you can deliver quality faster. This blog breaks down exactly how to build a stunning Flutter mobile app for e-commerce that feels smooth, looks professional, and works across devices.
Why Build an E-Commerce App with Flutter?
Flutter isn’t just a trend; It's an option for app development. Here's why it’s perfect for building an online store app:
-
Cross-platform, single codebase:
Flutter allows you to write once and deploy to both Android and iOS, which significantly cuts down on development time and maintenance costs. This is especially useful for freelance developers or agencies working with limited budgets.
-
Faster UI development:
With its built-in widgets and Flutter UI kit libraries, you can create pixel-perfect designs that match the client’s brand. You’re not stuck recreating common components from the first step.
-
High performance:
Flutter compiles to native ARM code and doesn’t rely on web views like older frameworks. This means animations, gestures, and navigation feel smooth, even on mid-range devices.
-
Strong ecosystem:
Flutter integrates easily with tools like Firebase, Stripe, Razorpay, and REST APIs. Whether you’re adding real-time databases, cloud messaging, or payment processing, it plays nicely with the full e-commerce stack.
-
Vibrant community:
Flutter has a growing developer base, so you’ll always find plugins, packages, and documentation when you hit a roadblock.
In short, building an e-commerce Flutter app is not just about saving time. It’s about delivering the latest and scalable solution without compromising on quality or design.
Features Your E-Commerce App Must Have
A great e-commerce application isn’t just about a shopping cart. You need to think about the full customer journey, from discovery to delivery. Here’s what your app should include:
1. User Authentication
Let users register and log in using multiple options: email/password, Google Sign-In, Apple ID, and even OTP-based phone logins.
-
It reduces friction and accommodates different preferences. For returning users, biometric login (fingerprint or Face ID) speeds up access.
All data must be encrypted and securely stored using Firebase Auth or OAuth tokens. Login UX should be seamless, with clear feedback on errors.
2. Product Browsing & Filtering
Display products in a responsive grid layout with high-quality images and short descriptions. Filters should include price range, rating, availability, and categories.
-
Add a smart search bar with suggestions and recent history. Infinite scrolling improves UX, but ensure performance is optimized using lazy loading.
-
Product detail pages should include reviews, multiple images, and clear CTAs.
3. Shopping Cart & Checkout Flow
Your cart must retain data across sessions and allow users to edit quantities, delete items, or apply promo codes.
-
The checkout process should be streamlined: billing info → shipping → review → payment. Integrate with secure payment gateways (Stripe, Razorpay, etc.) and provide real-time feedback. Let users save their addresses for faster future checkouts.
4. Wishlist & Favorites
Allow users to “heart” or save products for later. This encourages return visits and increases conversions.
-
Send notifications when saved items go on sale or run low in stock. Sync wishlists across devices using cloud storage.
Make it easy to share wishlists via links or social apps. This feature also gives great product insight to store owners.
5. Order Tracking
Users expect to know what’s happening after payment. Implement a tracking system that shows each stage: Order Received → Packed → Shipped → Delivered.
-
Push notifications should update users at every step. Include order history and download invoice options. This builds trust and reduces customer service queries.
Bonus if you integrate tracking with delivery partner APIs.
6. Push Notifications
Notify users about sales, order status, and app updates. Use Firebase Cloud Messaging or OneSignal for easy integration.
-
Keep messages short, timely, and personalized, and include the user's name or mention a saved product. Let users control notification preferences from settings.
Overuse can cause uninstalls, so time them strategically. Done right, it boosts engagement without being spammy.
7. Multi-currency & Language Support
Enable region-based language and currency preferences. Automatically detect the user’s location or let them choose manually. Support for right-to-left (RTL) languages like Arabic or Hebrew makes your app globally friendly. Use the intl package in Flutter for smooth implementation. All price and date formats should reflect the user's location. This is essential for scaling to international markets.
8. User Account Dashboard
Let users manage their profiles, view orders, saved items, and app settings. Include options for password change, address book, and saved payment methods.
-
The dashboard should be intuitive and clean, making users feel in control. Offer support or chat links from this area. This improves retention and builds loyalty.
These features keep the online store application up-to-date, user-friendly, and secure for shopping for products.
Getting Started with Your Flutter Template
When beginning your project, don’t start from scratch unless you have to. Instead, choose a ready-made Flutter e-commerce template that fits your project's scope.
These Flutter templates include all key screens: login/signup, home, category, product detail, cart, wishlist, checkout, and order tracking. Most come integrated with Firebase or local dummy data, which speeds up development significantly.
Consider the following aspects when choosing it:
-
Start by reviewing template documentation to understand its structure.
-
Check if it's built with MVC, MVVM, or a provider/state-management approach.
-
Identify where to inject your own APIs and replace the dummy content.
-
Always run the app on both Android and iOS simulators to test the base functionality before you begin customization.
Purchasing a template can reduce the work of project development and allow for focusing on important things.
Customizing the Template for Your Brand.
Now it’s time to make the app feel like your client’s brand. Not just another Flutter app. This is where UI/UX decisions count. It refers to Flutter app template customization.
What You Should Customize:
-
Colors & Fonts: Use a theme configuration to apply the brand’s colors, typography, and button styles throughout the app. Flutter’s ThemeData makes this centralized.
-
Logos & Branding Assets: Replace all logos and splash screen visuals with client-provided branding. Include favicons and platform-specific icons for App Store/Play Store.
-
Category Layouts: Tailor navigation menus and product categories based on the business's product structure. A jewelry store and an electronics shop shouldn’t use the same UX.
-
Checkout Flow: Customize checkout based on business needs. For example, grocery apps need slot-based delivery; fashion apps may want return policy pop-ups.
-
Onboarding Screens: Add an intro carousel to explain the app’s features to new users. Use visuals and animations that reflect the brand story.
This phase should also include polishing the application user experience. It makes transitions smooth, uses intuitive gestures, and offers visual consistency. Go with UI and focus on how users feel while interacting.
Testing & Deployment of Developed App.
Before you release your Flutter app, test it like your brand’s reputation depends on it, because it does. Prefer QA & testing practices following the key testing areas:
-
Unit Testing: Validate individual functions like coupon discounts or tax calculations. This helps avoid logic errors.
-
Widget Testing: Check every UI element, buttons, form fields, and lists on different screen sizes and orientations.
-
Integration Testing: Simulate the user journey from login to checkout. Verify how well third-party APIs like payment or delivery work together.
-
Performance Testing: Monitor frame rendering, load times, and app responsiveness. Flutter’s devtools can help identify UI errors and memory leaks.
-
Real Device Testing: Emulators aren’t enough. Test on real Android and iOS phones with varying screen sizes and OS versions.
Once all tests pass:
-
Generate platform builds using flutter build apk or flutter build ios.
-
Upload your builds to the Play Store and App Store with proper listing content (screenshots, privacy policy, keywords).
-
Set up CI/CD pipelines if you plan on frequent updates.
Post-deployment, monitor crash analytics and usage behavior using Firebase Analytics or Mixpanel.
Why Use a Ready-Made Flutter Template?
E-commerce mobile app development costs are high, and it takes time to be ready for users. Using a ready-made Flutter template is the smarter, more efficient path for most developers.
-
Saves weeks of development: With 80% of the core done, you can focus on client-specific features.
-
Professional design quality: Most templates use tested UI patterns and app interface design best practices.
-
Clean and modular code: Easily extend, debug, or scale with well-structured Dart files.
-
Scalable foundation: Built-in Firebase or GraphQL integrations make backend connections easy.
-
Faster onboarding: Freelancers or junior devs can quickly understand and work on the project using a familiar layout and logic.
Whether you're on a tight deadline or handling multiple client apps, templates help you deliver polished products with minimal effort.
Conclusion
A great Flutter e-commerce app doesn’t happen by accident. It’s the result of smart planning, using the right tools, and obsessing over details that improve user experience. Thanks to Flutter templates, developers now have a shortcut to success without sacrificing quality.
Whether you’re a freelance developer helping startups or a dev agency building for global clients, using a Flutter UI kit and customizing a ready-made template helps you move faster, deliver better, and scale with confidence. Focus on the business goals, not just the codebase.
Start smart, customize wisely, and test thoroughly. Get the Flutter mobile app ready to download.