BTC - Bitcoin
 USDTERC20 - USDT ERC20
 ETH - Ethereum
 BNB - Binance
 BCH - Bitcoin Cash
 DOGE - Dogecoin
 TRX - TRON
 USDTTRC20 - USD TRC20
 LTC - LiteCoin
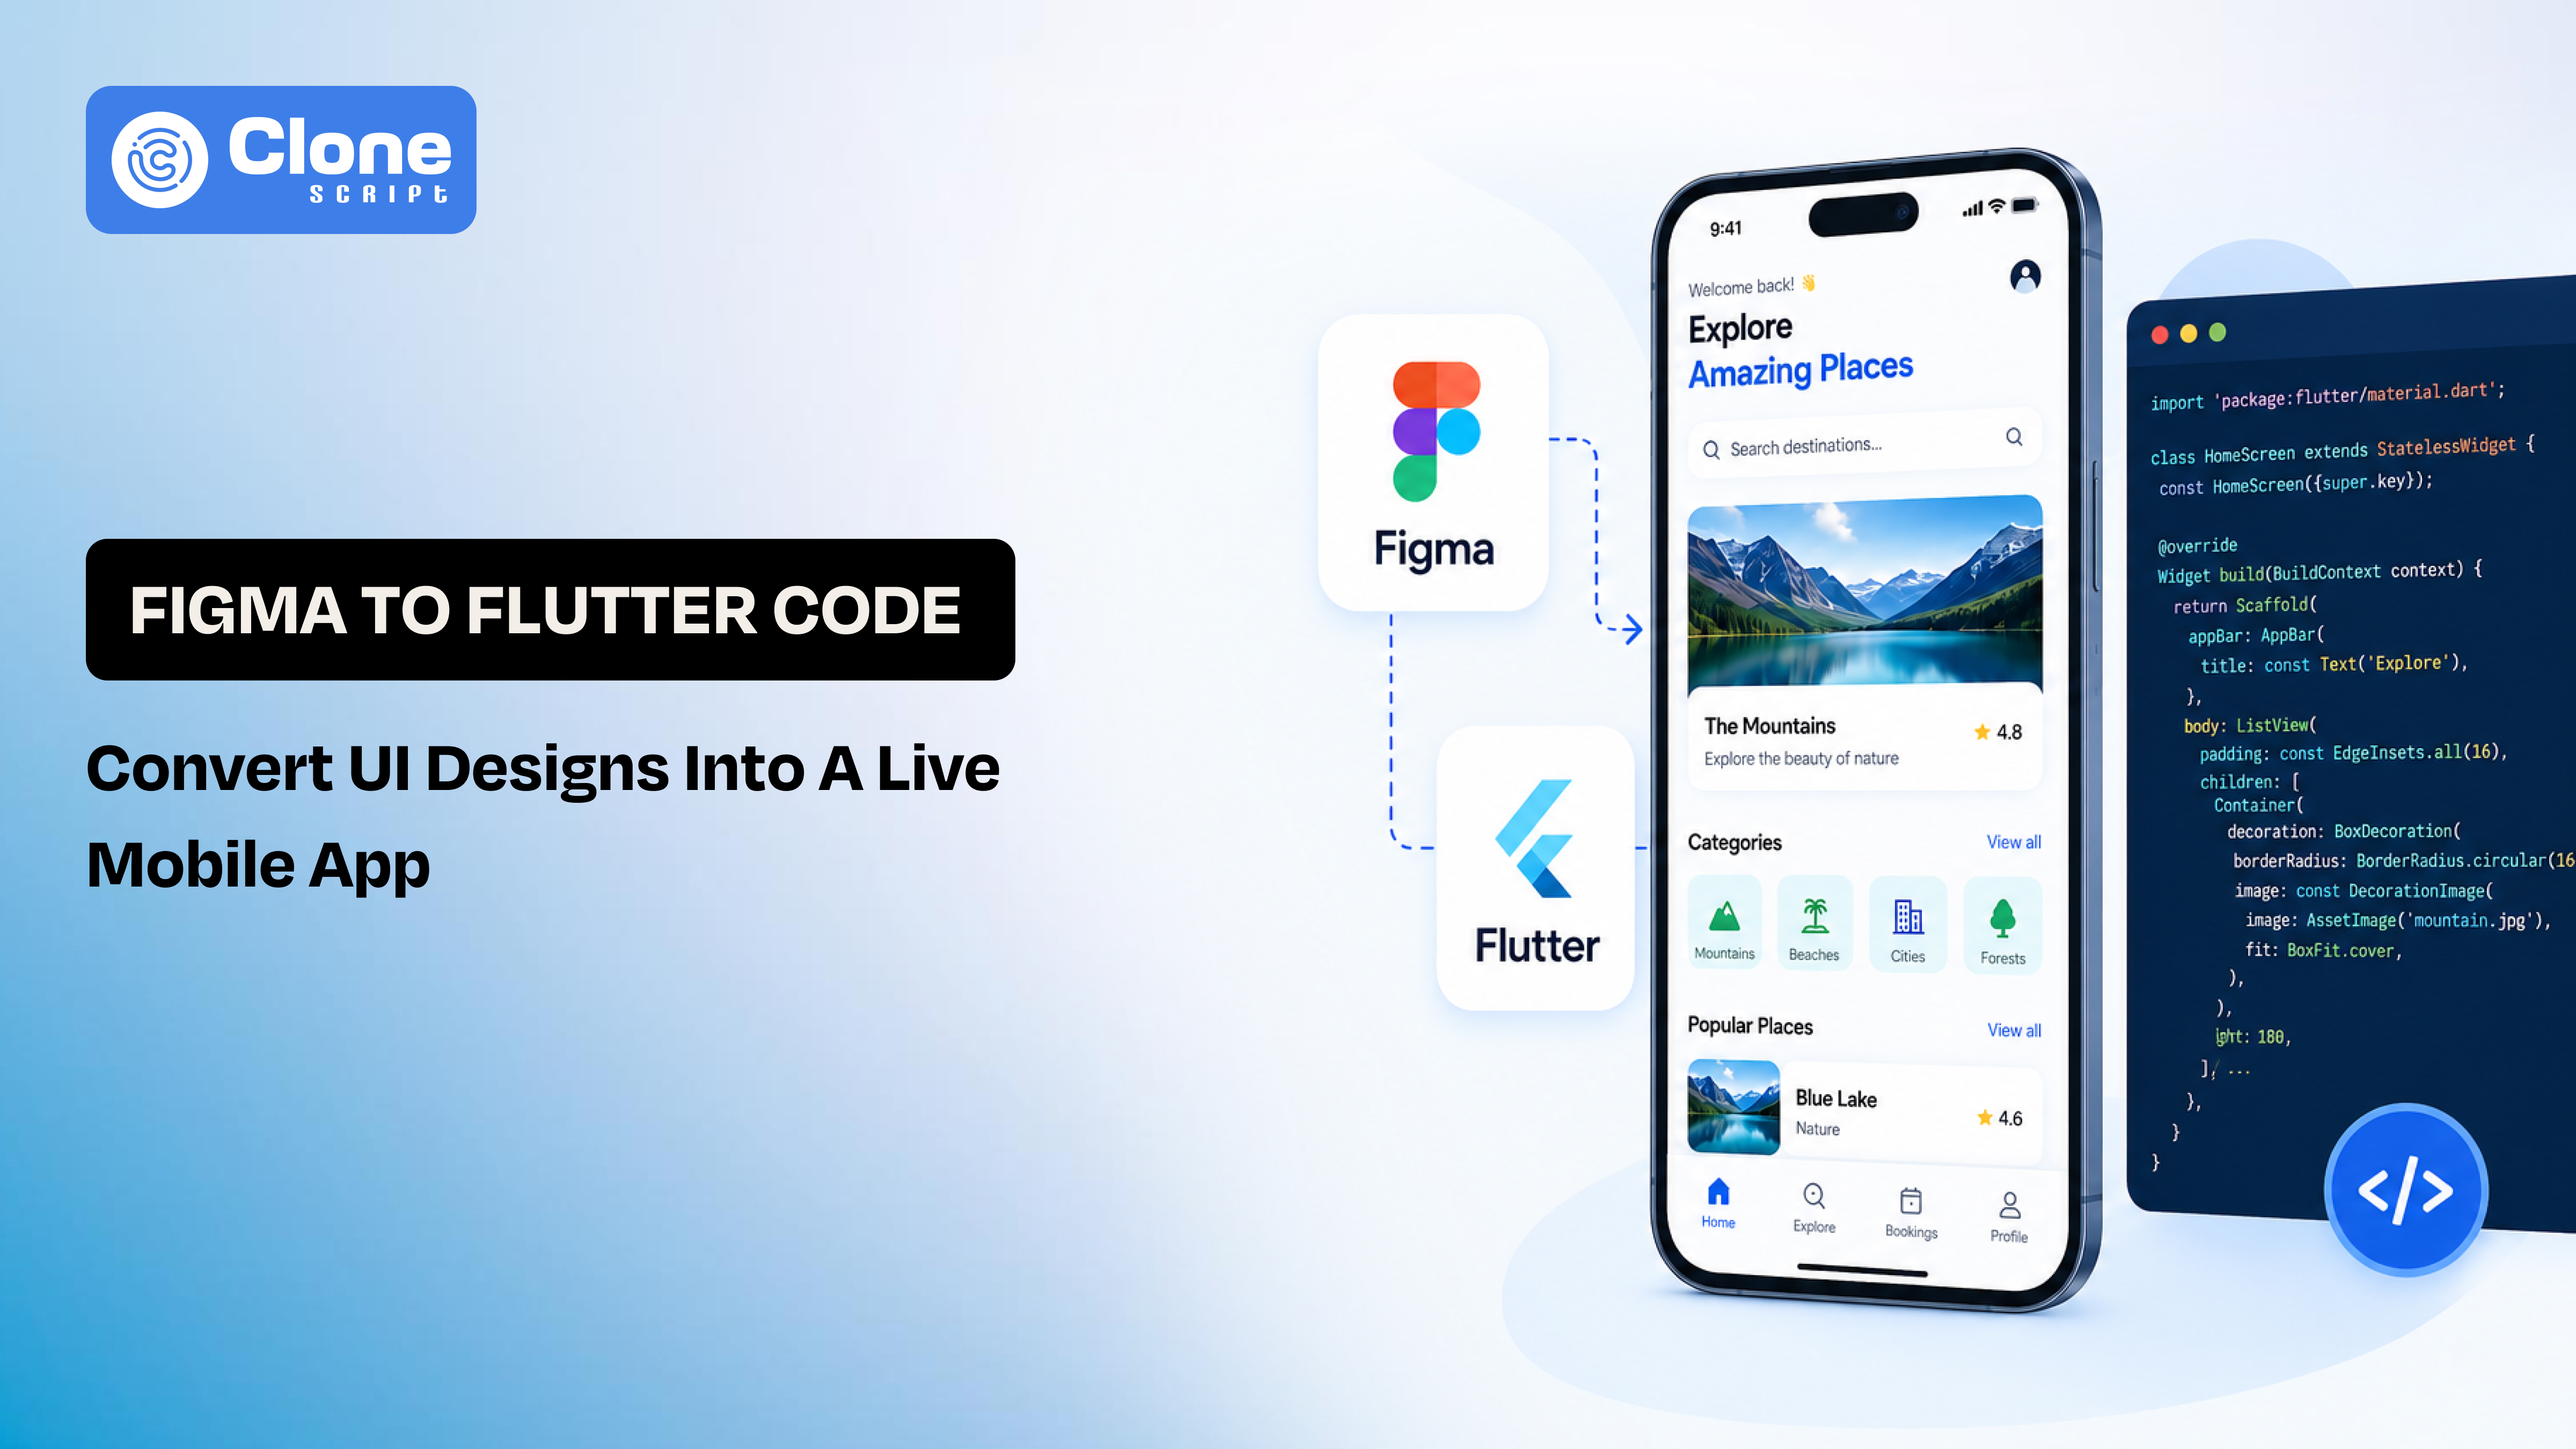
Figma to Flutter Code: Convert UI Designs into a Live Mobile App
Figma is where most app ideas start. Clean layouts, perfect spacing, everything visually in place. But the moment you try to convert Figma to Flutter, things don’t feel as smooth anymore.
You export the design, try a plugin, maybe even generate some Figma to Flutter Code, and suddenly the structure feels off. The UI works, but not the way you expected. Spacing breaks on different screens, widgets get unnecessarily complex, and what looked simple in design becomes harder to manage in code.
That’s because design and development don’t speak the same language by default. Turning a static layout into a working interface requires more than just tools. It requires understanding how Figma to Flutter UI actually translates in real projects.
This guide is built around that reality. You’ll learn how developers approach converting Figma to Flutter app workflows step by step. The result isn’t just code, but a clean, scalable app you can confidently take live.
What “Figma to Flutter Code” Actually Means (Not What You Think)
Most developers assume Figma to Flutter Code is a direct conversion process: design in, code out. In practice, it doesn’t work that way.
Figma is a design tool. It focuses on visual structure like spacing, alignment, typography, and layout intent. Flutter, on the other hand, is a UI framework that requires explicit instructions for how every element behaves across devices.
When you convert a Figma design to Flutter, you’re translating design decisions into a widget hierarchy. Not just exporting visuals.
Once you understand this shift, the entire Figma to Flutter UI process becomes clearer and far more controllable.
Manual vs Automated Conversion: Which Should You Use?
When developers approach Figma to Flutter Code, the first decision is simple: Do you write the app user interface manually, or use a tool to generate it?
Both approaches can work. But hold on, they serve very different purposes.
-
Automated Conversion (Using Tools & Plugins)
This is the fastest way to convert design into code, at least on the surface.
Tools and plugins scan your design and generate Figma to Flutter Code instantly. It’s useful when you want to:
-
Quickly preview a UI in Flutter
-
Build a prototype or MVP
-
Save time on repetitive layouts
Pros of this method:
-
Fast initial output
-
Minimal manual effort
-
Good for simple UI screens
Limitations of this method:
-
Messy and deeply nested widget trees
-
Hardcoded sizes (poor responsiveness)
-
Little to no reusable structure
-
Not suitable for production apps
In most cases, generated code becomes a starting point. Not the final solution.
-
Manual Conversion (Developer Approach)
This is how experienced developers convert Figma to Flutter app workflows in real projects.
Instead of relying on tools and plugins, you can do the following:
-
Analyze the design structure
-
Rebuild layouts using Flutter widgets
-
Create reusable components
-
Apply proper architecture
Pros of this method:
-
Clean, maintainable code
-
Fully responsive layouts
-
Scalable for large applications
-
Better performance
Limitations of this method:
-
Takes more time initially
-
Requires understanding of UI structure
-
The Hybrid Approach (What Actually Works)
In real-world development, the best approach is a mix of both automated and manual conversion of Figma to Flutter code.
Use tools for the following:
-
Speed up basic UI generation
-
Extract assets and spacing
Then manually:
-
Refactor the generated Figma to Flutter Code
-
Optimize layout and responsiveness
-
Structure widgets properly
Understanding when to automate and when to rebuild is what separates a quick demo from a scalable Flutter application.
How Figma Layouts Map to Flutter Widgets
Before you convert Figma to Flutter, you need to understand one thing clearly: Flutter doesn’t “interpret” designs; it rebuilds them through widgets. If you miss this mapping, your code will quickly become unstable and hard to manage.
Thinking in Layout Behavior, Not Visual Design
In Figma, you see alignment and spacing. In Flutter, you define how elements behave inside a layout.
For example:
-
A horizontal group in Figma is equal to a row in Flutter
-
A vertical stack will be considered as a Column.
-
Layered elements are a Stack.
-
Flexible spacing will convert into Expanded / Flexible.
This is the foundation of clean Figma to Flutter UI conversion.
Translating Common Figma Patterns
Instead of copying pixel values, focus on structure:
-
Sections / Screens into Scaffold + SafeArea
-
Cards / Blocks made for Container with padding & decoration
-
Lists turn into ListView or Column (depending on scroll behavior)
-
Buttons & Components designed for Custom reusable widgets
When you convert Figma to a Flutter app, each design block should become a logical, reusable unit—not a one-off layout.
Why This Step Matters
Skipping this mapping leads to:
-
Over-nested widget trees
-
Hardcoded dimensions
-
Poor responsiveness across devices
Clean mapping ensures your code stays readable, maintainable, and scalable.
Once you start thinking in terms of widget behavior instead of visual layers, the entire convert Figma to Flutter workflow becomes faster—and far more predictable.
Convert Figma to Flutter Code Real Workflow
Now that the fundamentals are clear, let’s walk through how developers actually handle Figma to Flutter Code in a real project. This is a structured workflow.
Step 1: Prepare the Figma Design
Before you convert Figma to Flutter, clean up the design file through:
-
Use auto layout instead of absolute positioning
-
Maintain consistent spacing and alignment
-
Convert repeated elements into components
-
Name layers clearly (e.g., btn_primary, card_product)
A well-structured file directly improves the quality of your Figma to Flutter UI output.
Step 2: Identify Layout Structure
The second step is to understand the structure. Don’t jump into code yet. First, break the design into sections: Header, Content blocks, Lists/grids, and Footer or navigation.
Map each section to Flutter widgets like:
-
Column for vertical layouts
-
Row for horizontal groups
-
Stack for overlapping elements
This step defines how your Figma to Flutter Code will be structured.
Step 3: Build the Base Layout in Flutter
Start coding the skeleton:
-
Use Scaffold for screen structure
-
Wrap content inside SafeArea
-
Create the main layout using Column / Row
At this stage, focus only on layout. Not styling. This keeps the conversion of the Figma to Flutter app process controlled and modular.
Step 4: Add Styling and UI Details
This step helps once the structure is ready:
-
Apply padding and margins
-
Add colors and typography
-
Use BoxDecoration for shadows, borders, and backgrounds
Avoid copying exact pixel values blindly, but adapt them for responsiveness.
Step 5: Create Reusable Widgets
Instead of repeating UI blocks, extract buttons, cards, and list items into custom widgets. Then, pass data through parameters. This is where raw Figma to Flutter Code becomes maintainable.
Step 6: Make the UI Responsive
This step is often skipped, but critical.
-
Use Expanded / Flexible instead of fixed widths
-
Avoid hardcoded heights where possible
-
Test on multiple screen sizes
A responsive layout ensures that your UI design to code works across devices.
Step 7: Optimize and Refactor
Before moving forward, check for the following:
-
Reduce unnecessary widget nesting
-
Improve readability
-
Group related widgets logically
Clean code at this stage saves more effort later.
Step 8: Connect to Real App Logic
At this step, finally, your UI turns into a working app by following:
-
Integrate state management (Provider, Riverpod, etc.)
-
Connect back-end and front-end APIs
-
Handle user interactions
Now your Figma-to-Flutter app conversion process is complete, but functionally.
The difference between average and professional Figma to Flutter Code lies in execution. It’s not about speed. It’s about structure, clarity, and long-term usability.
Best Tools for Figma to Flutter Code (And How to Use Them Properly)
There are plenty of tools that claim to convert designs instantly—but when it comes to Figma to Flutter Code, the real question is not which tool is best, but how each tool fits into your workflow.
Instead of treating them as full solutions, you should understand what each one actually helps you achieve.
-
Code Generation Tools (Fast, but Raw Output)
Tools like DhiWise, Locofy.ai, and Anima are built to directly generate Figma to Flutter Code from your design. They analyze layers, spacing, and styles, then convert them into Flutter widgets.
Where they help:
-
Creating a quick first version of your UI
-
Saving time on repetitive layout building
-
Getting a visual structure ready in minutes
Where they struggle:
-
They often produce deeply nested widgets
-
Layouts are usually fixed, not responsive
-
Components are not reusable by default
In practice, the code they generate is rarely ready for production. It’s better to treat it as a draft you refine, not something you ship as-is.
-
Visual Development Platforms (Control with Speed)
Platforms like FlutterFlow and Builder.io take a slightly different approach.
Instead of just exporting code, they let you visually build and adjust UI while generating Flutter-compatible output in the background.
Where they help:
-
Faster iteration between design and development
-
Easier collaboration with designers
-
Useful for building MVPs quickly
Limitations of these platforms:
-
You don’t get full control over code structure
-
Scaling the app beyond simple use cases can get difficult
They are effective when speed matters more than flexibility. But, they are less ideal when building long-term, maintainable apps.
-
Inspection & Handoff Tools (Most Reliable for Clean Code)
Tools like Figma Dev Mode and Zeplin don’t generate code. They are extremely useful when you manually convert Figma to Flutter.
They allow you to:
-
Inspect spacing, font sizes, and colors
-
Export assets like SVGs and images
-
Understand layout behavior clearly
This makes them essential for developers who want full control over their Figma to Flutter UI.
How Developers Actually Use These Tools
A practical workflow usually looks like this:
-
Start with Figma Dev Mode to understand the design structure
-
Optionally use Locofy.ai or DhiWise to generate a rough layout
-
Rebuild the UI manually in Flutter for better control
-
Extract reusable widgets and optimize responsiveness
This approach balances speed and quality without compromising your codebase.
No tool can perfectly handle Figma to Flutter Code on its own.
The best results come from using tools selectively, where they save time. Keep the core UI logic and structure under your control.
Clean Flutter Architecture After Conversion
Once the UI is ready, the next step is organizing it properly. This is where many developers lose control. Dumping all generated or written UI into a single file or folder might work for a demo. But not for a real app.
When you convert Figma to a Flutter app, your focus should shift from UI building to code structure.
-
Start with Feature-Based Structure
Instead of grouping files by type, organize them by feature.
Take the example:

This keeps everything related to a feature in one place. It becomes easier to scale, debug, and extend.
-
Separate UI from Logic
Your UI should not handle business logic directly. Keep them interconnected:
-
UI to manage widgets, layouts, and styling.
-
Logic has to be in accordance with state management and API calls.
Even if you're only working on Figma to Flutter Code, separating concerns early prevents messy refactoring later.
-
Break UI into Small Widgets
Avoid building large screens in a single file. Instead do:
-
Extract buttons, cards, headers
-
Keep widgets focused on one responsibility
This improves readability and makes your UI reusable across screens.
-
Use a Consistent Folder Pattern
A simple structure works well, as shown in the example:

This gives clarity without overcomplicating the project.
-
Apply Theme Instead of Hardcoding Styles
Don’t repeat colors, font sizes, or styles across widgets.
Define them once in:
-
ThemeData
-
TextTheme
-
Color constants
This makes your app user interface consistent and easier to update.
You don’t need a complex architecture on day one. But you do need a structure that won’t collapse as the app grows.
After generating or writing the Figma to Flutter Code, spend time organizing it. Clean architecture is what keeps your app maintainable when features start increasing.
Using Figma API + AI for Advanced Automation for Code
If you’ve already worked with basic tools, the next step in Figma to Flutter Code is automation. It’s about pulling design data directly and controlling how it turns into code. This isn’t about plugins.
What the Figma API Gives You
Figma provides an API that lets you extract:
-
Layout structure (frames, groups)
-
Text content and styles
-
Colors and spacing
-
Component data
Instead of manually inspecting designs, you can programmatically access everything needed to convert Figma to Flutter.
Here is how the workflow looks at a high level:
-
Fetch design data using Figma API
-
Convert it into structured JSON
-
Map that JSON to Flutter widgets
-
Generate base UI code
This gives you more control compared to standard Figma to Flutter Code tools.
Where AI Fits In the Process?
Artificial Intelligence in web design and development has gained global adoption. It can help interpret design data and generate cleaner output.
For example:
-
Suggest a better widget structure
-
Reduce unnecessary nesting
-
Convert repeated patterns into reusable components
This improves the quality of your Figma to Flutter UI compared to basic generators.
Why This Approach Matters
With tools, you depend on their output.
With API and AI, you control the logic.
This is useful when:
-
Working on large-scale apps like Fintech or a food delivery app
-
Automating repetitive UI generation
-
Building internal design-to-code pipelines
Limitations to Keep in Mind
-
Requires setup and technical understanding
-
Not ideal for small projects
-
Still needs manual refinement
Even with automation, you’ll still review and adjust the final conversion of the Figma to Flutter app output.
Key Insight
This approach isn’t necessary for every developer. But if you want deeper control over Figma to Flutter Code, combining API access with AI gives you a more flexible and scalable workflow than relying only on plugins.
Final Step: Turn Your Flutter Code into a Live App
Once your Figma to Flutter Code is structured, tested, and connected to real data, the final step is deployment. Build the release version, configure app settings, test on real devices, and publish through app stores. This is where your UI becomes a usable product.
Did you know that over 70% of apps face rejection during their first submission due to performance, UI inconsistency, or missing configurations, even when the core functionality works perfectly fine? Do not make this mistake anymore when converting Figma into Flutter.